This is one of my favorite favorite and most used features on my Mac & Macbook Pro. It’s called the screenshot or screen capture feature and it’s 100% free and already installed on your Mac. This means you don’t have to download external software or try to run a program in Parallels, it just works – the first time and every time. So in this Mac Tutorial, you will learn how to take a screenshot on your Mac / Macbook Pro.
How to screenshot on a Mac or Macbook Pro
As you know, we are big into making videos, so we made a video that is under 2 minutes long that explains both types of screenshots and how to do them. You can access the video on how to take a screen shot here: https://www.youtube.com/watch?v=oWiR37seSXQ
In the tutorial video, we go over both types of screenshots; Full Screen and Selection. You can click the link above or click play on the embedded video tutorial below…
After you watch the video, make sure you like it, add a nice comment and subscribe to our channel on YouTube. Or click this link to subscribe: Subscribe to MyVideoPro on YouTube
Screenshot Basics on Your Mac
There are two kinds of screenshots you can do on a Mac / Macbook Pro. The first is the full screen shot and the second is the partial screen selection. Right below this, we are going to break down both types and how to do them…
Full Screen ScreenShot on Mac
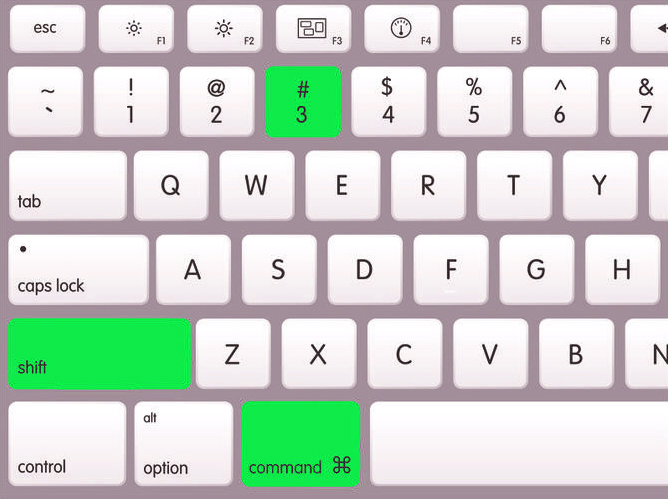
To take a screenshot of your whole screen, you will press: Command + Shift + 3 at the same time.
a

ScreenShot Whole Screen on Mac
ScreenShot just a selection on Macs
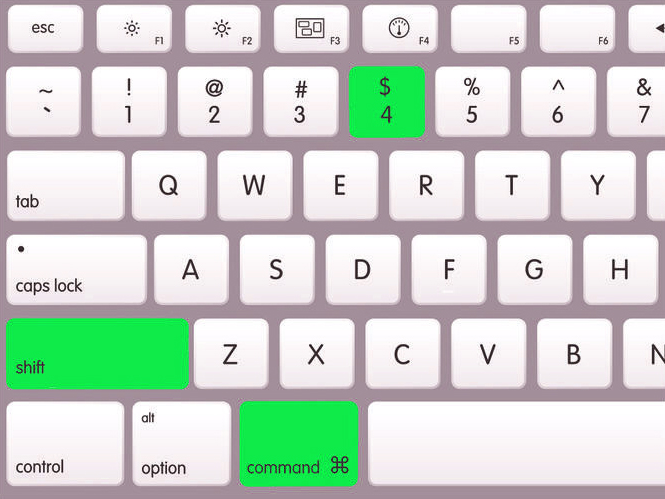
To take a screenshot of just a selection of the screen, you will press: Command + Shift + 4 at the same time. Then, you will highlight the area you want to capture and you're done!

How to take a partial ScreenShot on Macs
Now you're familiar with how to take a screenshot on your Mac and Macbook Pro! We sincerely hope this was helpful for you. Please don't forget to show us some love you YouTube and share this blog post, so more people will know how to take a screenshot on their Mac!
